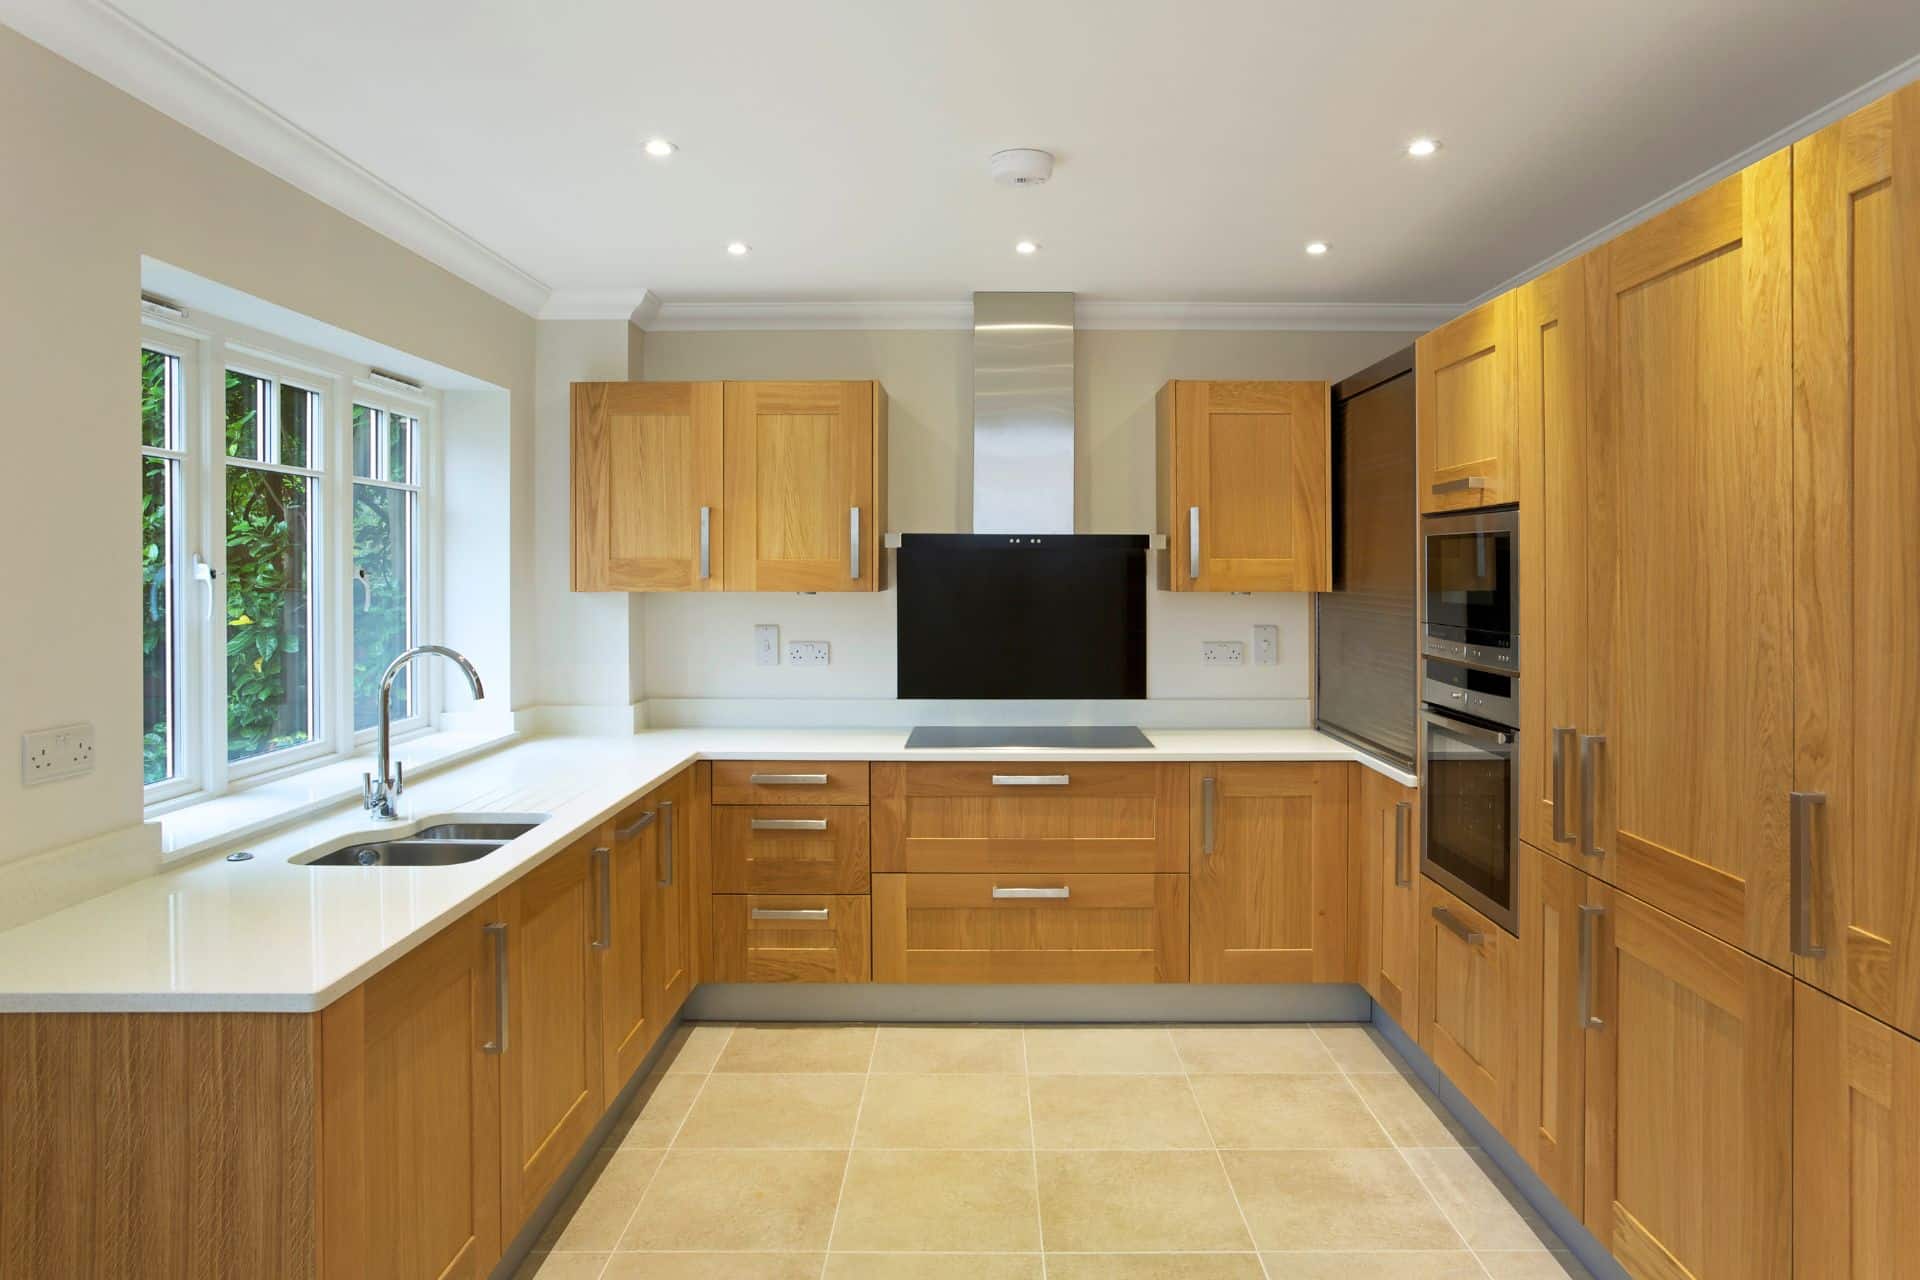
Oak cabinets are a beloved staple in many homes, offering durability, warmth, and a distinctive grain pattern. However, like anything, they can begin to show their age after years of faithful service. If your oak cabinets are looking a little lackluster, painting them can provide an instant, cost-effective makeover. Below, we’ll explore in-depth how to paint oak cabinets.
Oak: A Unique Material
Oak has been favored for its strength and beauty for centuries, becoming an integral part of home design. Here’s why painting oak can be a unique task:
1. Grain
Oak is known for its striking grain. It offers a rustic, textured feel, which becomes more noticeable when painted.
2. Porosity
Oak’s porous nature means it absorbs paint, making the painting process a bit more complex. But with careful preparation, you’ll achieve a professional finish.
Materials You’ll Need
Every successful project starts with the right tools. Ensure you gather the following materials before starting:
- Sandpaper (100-grit and 220-grit)
- Wood filler
- Primer
- Latex paint
- Paintbrushes and rollers
- Sealant
- Tack cloth
- Painter’s tape
Having these supplies at your disposal will streamline the process, allowing you to focus on each step without interruption.
The Step-by-Step Process
Now that you have all the necessary materials, it’s time to dive into the transformative process of painting your oak cabinets.
Step 1: Cabinet Preparation
Before you start painting, ensure that your cabinets are clean and hardware-free. Start by removing all doors and hardware from the cabinets. Clean every surface thoroughly with a mild soap and water solution to remove grease or dust. This step is crucial to achieving a smooth, blemish-free finish.
Proper cabinet preparation should be your first step in ensuring you get a clean and seamless paint job. Gather the necessary tools to get your oak cabinets off from all hardware. The idea is to have as little obstruction as possible from the paint and the wood. Anything that shouldn’t be painted should be removed.
Step 2: Sanding
Oak cabinets require diligent sanding due to their noticeable grain. Sanding evens out the surface, making it more receptive to paint. Start with the coarser 100-grit sandpaper, which helps to level the surface. Once you’ve sanded all surfaces, switch to 220-grit sandpaper, which will further smooth the wood, prepping it for the next stages.
Step 3: Filling the Grain
After sanding, your cabinets will be smoother but the grain will still be quite noticeable. To create an even smoother surface, use wood filler and a putty knife to fill in the grain. Apply the filler across the grain, pushing it into the pores, and then remove excess filler with a scraper. This step may be a bit time-consuming, but it’s well worth the effort. Once the filler has dried fully, sand lightly once more with 220-grit sandpaper.
Step 4: Priming
Priming your oak cabinets is essential if you want a seamless paint job and for the paint to stick. Using a quality primer sets the ideal surface for the paint to stick. Primer acts as a coating that will saturate your oak cabinets and fill in the porous parts of the wood. Doing so will allow the paint to adhere to the wood and go on smoothly and evenly.
Use a roller to apply the primer and a smaller brush to get into all the corners and other hard-to-reach areas of the cabinets. When properly primed, the paint color of your choice will shine through thanks to the uniform and neutral base the primer provides.
Step 5: Painting
When it comes to painting oak wood, we recommend high-quality latex paint to go on top of your primed oaked cabinets. Latex paint is durable, easy to clean, and is DIY friendly as it gives a beautiful finish.
When you have the color of your choice, like with the primer, use a roller and a smaller brush to get the paint on the oak cabinets. We recommend 2 coats to really get the color on the cabinets. Allow the first coat of paint to dry before applying the second coat. This should take approximately 4 hours between coats. If you’re not happy with the color, you opt to apply a third coat. The trick is to allow the paint to dry before applying another coat. This ensures that you don’t end up with an uneven paint job.
Step 6: Sealing
After the paint has thoroughly dried, it’s time to seal your cabinets. This step is essential to protect your hard work. A clear sealant will shield your cabinets from everyday wear and tear, making them resistant to chipping and scratches. A good quality sealant will also act as another layer of protection from stains and moisture damage as it provides a nonporous top layer to your oak cabinets.
Apply the sealant with a clean brush and allow it to dry according to the manufacturer’s instructions.
Step 7: Reassembling
Once the sealant is completely dry, you can reassemble your cabinets. Carefully replace the hardware and reattach the doors. Make sure everything is secure and lined up correctly.
In Conclusion
Oak cabinets are inherently beautiful, but there’s a whole other level of satisfaction in a successful DIY paint job to upgrade or refresh their look. By following the steps above, you can successfully know how to paint oak cabinets. Never underestimate the aesthetic effect of a good paint job. Considering that cabinets take up a significant chunk of visual space, a good paint job can completely transform the look of a room and breathe new life into cabinets that have seen better days.
For anyone who’s painted their oak cabinets, know you’ve taken an essential step in maintaining the charm and longevity of your oak cabinets. Now, every time you step into your kitchen, you can take pride in the fact that you’ve updated and personalized a significant part of your home. And remember, the skills and knowledge you’ve gained are not confined to the kitchen. You can apply them to any oak furniture in need of a refresh!