Here’s a step-by-step guide to spring cleaning your kitchen, designed to help you deep clean and organize this vital space efficiently:
Step-by-Step Guide to Kitchen Spring Cleaning
Step 1: Prepare Your Cleaning Supplies
Gather all necessary cleaning supplies before you start. You’ll need multi-surface cleaners, dish soap, baking soda, white vinegar, a scrub brush, microfiber cloths, a mop, and rubber gloves. Having everything on hand will make the process smoother and quicker.
Step 2: Declutter the Countertops
Start by removing everything from your kitchen countertops. This includes small appliances, utensil holders, and any decorative items. Decide what needs to go back, what can be stored, and what you might want to get rid of.

Step 3: Clean Appliances
- Refrigerator: Remove all items, throw out expired products, and remove shelves and bins to wash them in soapy water. Wipe the interior with a solution of equal parts water and vinegar.
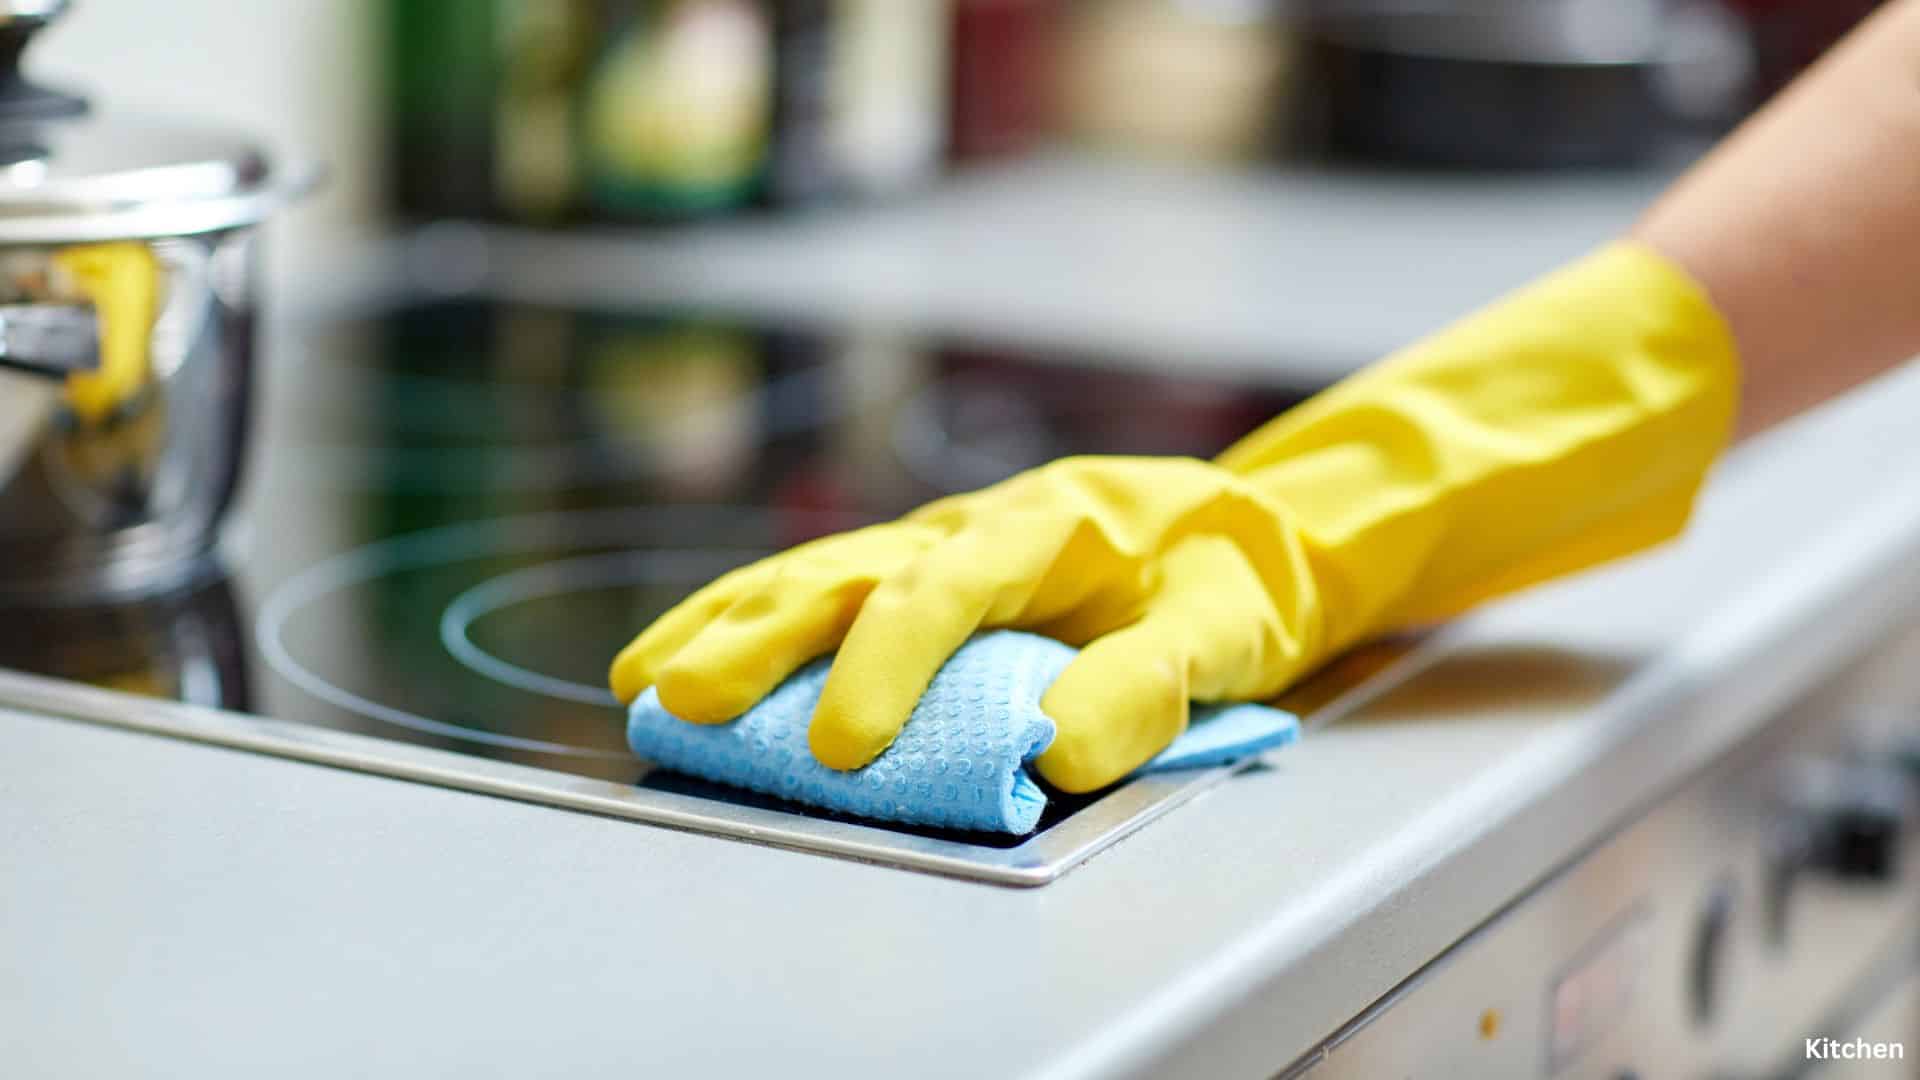
- Oven: Use an oven cleaner or a paste of baking soda and water for tough grime. Don’t forget to clean the stovetop and control knobs.
- Microwave: Heat a bowl of water with some lemon juice for several minutes, then wipe the interior with a cloth.
- Dishwasher: Clean the filter and run a hot wash with a cup of white vinegar in the upper rack.
Step 4: Clean Cabinets and Drawers
Empty each cabinet and drawer one at a time. Wipe the insides with a damp cloth and a mild cleaner. Consider lining them with fresh shelf paper. Sort through your items as you replace them, organizing and decluttering.
Step 5: Clean the Sink and Faucets
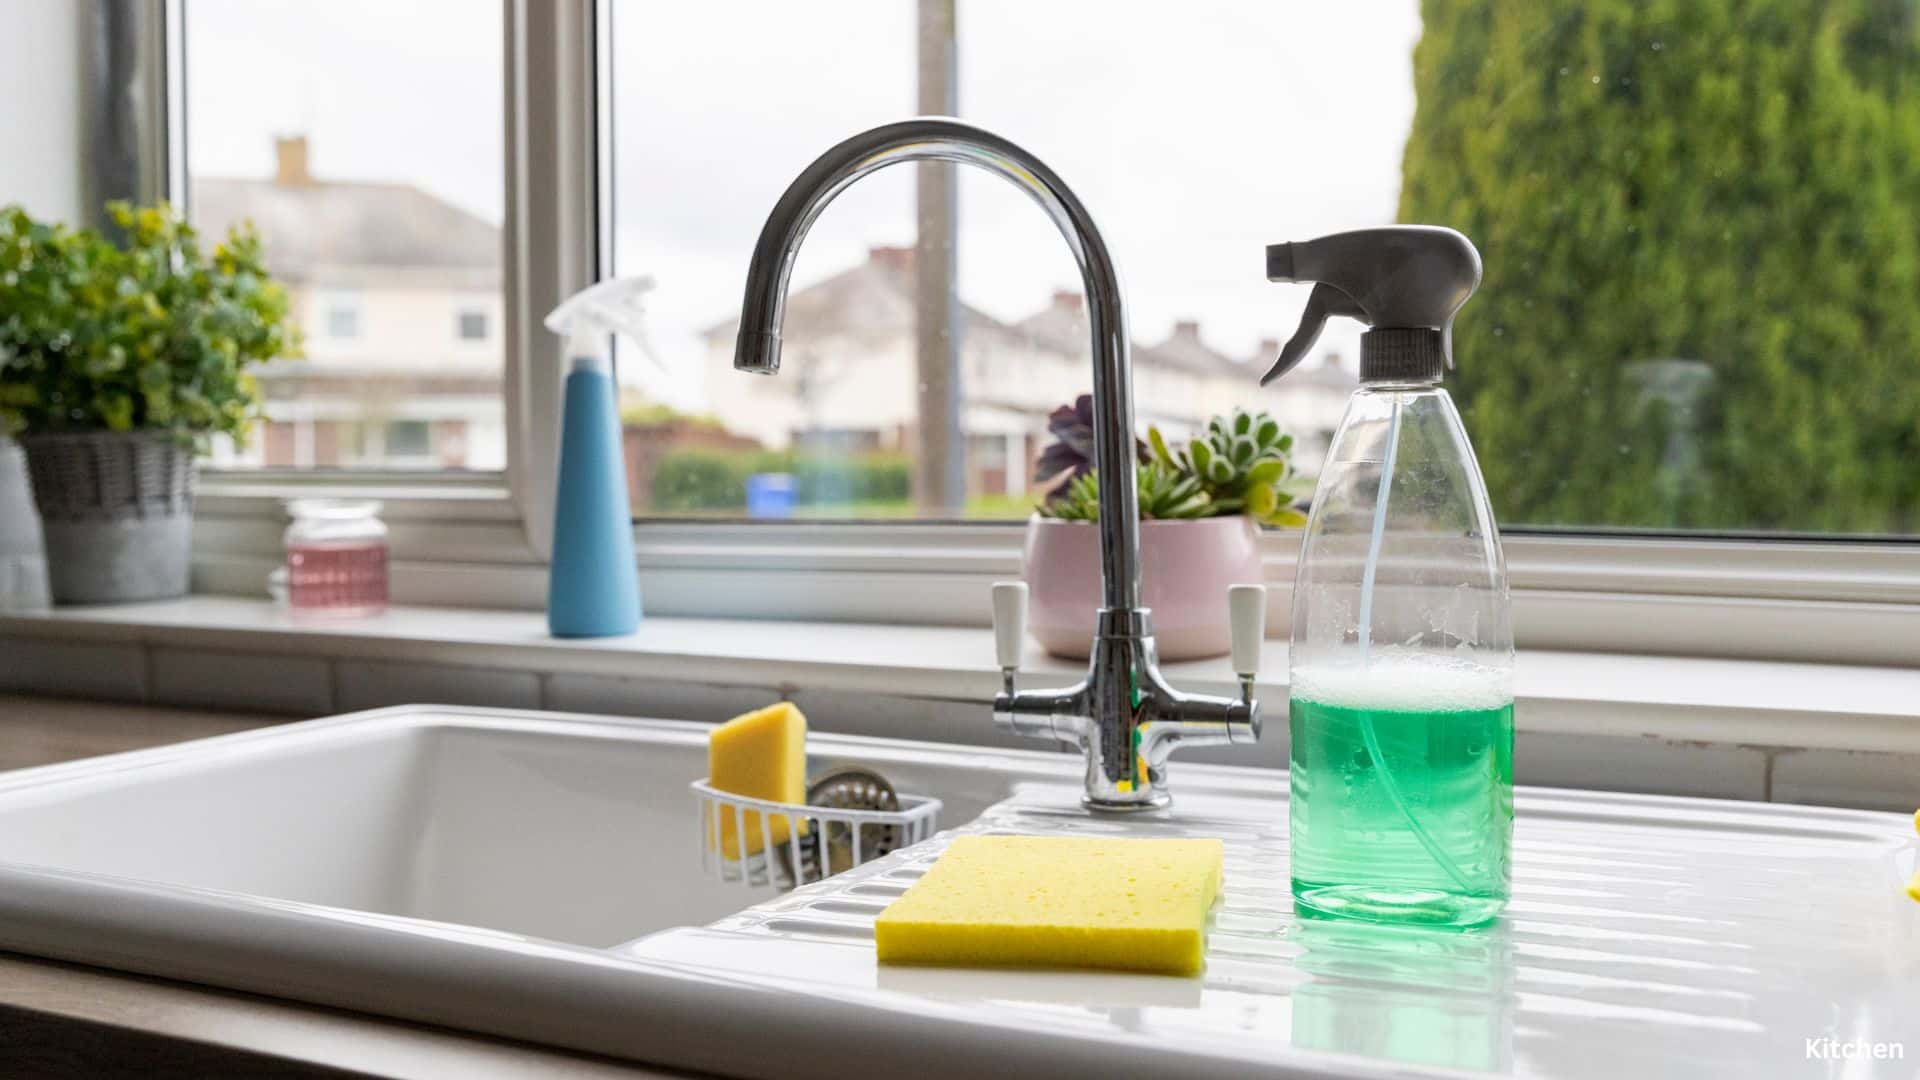
Scrub your sink with baking soda and a scrub brush. Use vinegar to remove water spots and limescale from the faucet. If you have a garbage disposal, grind some ice cubes and lemon peel to clean and freshen it.

Step 6: Refresh the Garbage Can
Take out the trash and thoroughly clean the can with a disinfecting spray or soapy water. Sprinkle baking soda at the bottom before placing a new garbage bag to help absorb odors.
Step 7: Sweep and Mop the Floor
Sweep the floor to collect any crumbs and debris. Mop with a floor cleaner suitable for your flooring type, ensuring you reach under appliances and corners.
Step 8: Replace Items and Decorate
Return items to their places on the countertops, but try to keep the space as clear as possible to maintain a neat look. Add a fresh vase of flowers or a new kitchen mat to enhance the kitchen’s appeal.
Step 9: Maintain Regularly
Once your deep clean is complete, keep up with maintenance cleaning. Wipe down surfaces daily, manage spills as they happen, and do a quick sweep of the floors.
This thorough cleaning not only revitalizes your kitchen but also makes it a more pleasant and hygienic space for cooking and gathering.

Frequently Asked Questions
1. How often should I deep clean my kitchen?
It’s a good idea to deep clean your kitchen at least twice a year, typically during the spring and fall. However, how often you need to deep clean can depend on usage; busier kitchens may require more frequent deep cleans.
2. What is the best cleaner for kitchen countertops?
The best cleaner for your countertops depends on the material. For most surfaces, a solution of mild dish soap and water is safe and effective. For tougher stains, baking soda and water can be used. Always avoid harsh chemicals on sensitive materials like marble or granite.
3. How do I clean greasy kitchen cabinets?
For greasy cabinets, create a mixture of dish soap and water, or use a solution of equal parts vinegar and warm water. Apply the solution with a soft cloth or sponge, scrub gently, then wipe with a clean damp cloth and dry thoroughly.
4. Can I use vinegar to clean my kitchen appliances?
Yes, vinegar is a great natural cleaner for many kitchen appliances. It can help remove odors and build-up inside refrigerators, dishwashers, and microwaves. For stainless steel appliances, use diluted vinegar to avoid damage, and always finish by wiping with a dry cloth to prevent streaks.
5. How do I prevent pests in my kitchen during spring cleaning?
To prevent pests, ensure all food is stored in sealed containers and regularly dispose of garbage. Clean up crumbs and spills immediately, and during your spring cleaning, pay extra attention to removing grease and food residue from hard-to-reach areas. Also, check for and seal any gaps where pests might enter.